meta data for this page
Settings and Proxies
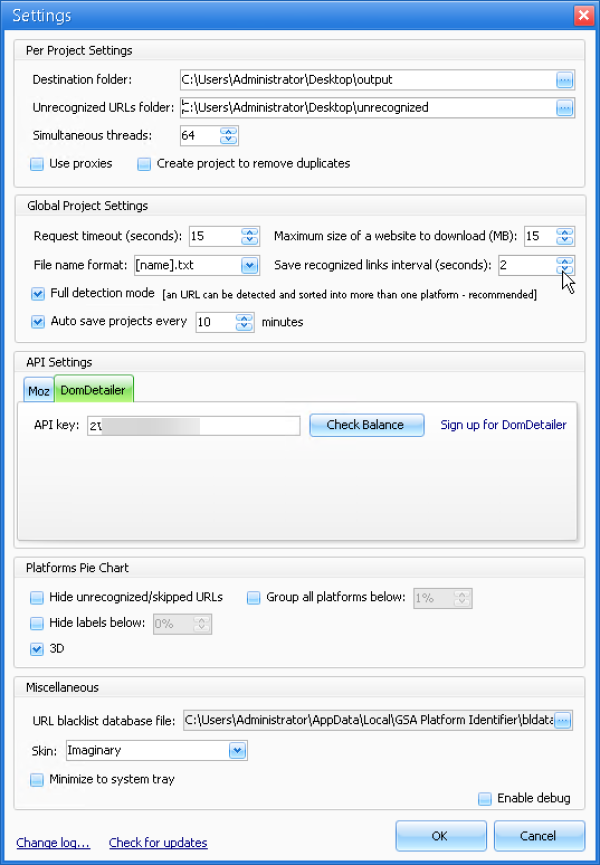
Per Project Settings - The settings used here will automatically be applied to new projects. For example, if I set a destination folder, unrecognized folder and set the thread count to 100, any new project I create will have these settings automatically applied. This can save time on configuring options when creating new projects.
Global Project Settings - It is recommended to leave most of these options at their default for the best results.
- Save recognized links interval - How often the identified links are saved to file.
- Autosave projects every x minutes - Projects will automatically be saved at the interval set here.
API Settings - Configure domdetailer or Moz API here. Use the “check balance” button before running the project to make sure the API is connecting properly.
Platforms Pie Chart - The settings here apply to the graphs shown on the main UI. If the graph becomes too cluttered and hard to read, adjusting these settings can fix it.
Configuring Proxies - Proxies aren't 100% necessary but can be used to help stay anonymous. Note - Some VPS/dedicated server providers prefer that proxies are used with this type of software, even though they aren't required.
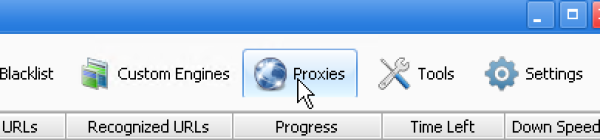
1. To import proxies, click the proxies button.
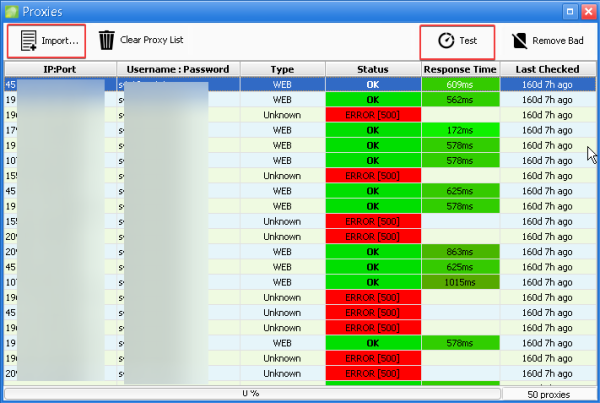
2. Then click the import button and choose from file or clipboard. Proxies must be imported in IP:PORT:USER:PASS format. Click test to begin testing your proxies. If your proxies pass, the status will turn green and say “ok.”
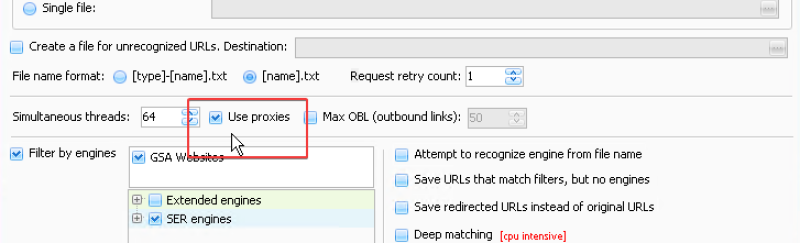
3. Make sure proxies are enabled when configuring your project.