meta data for this page
This is an old revision of the document!
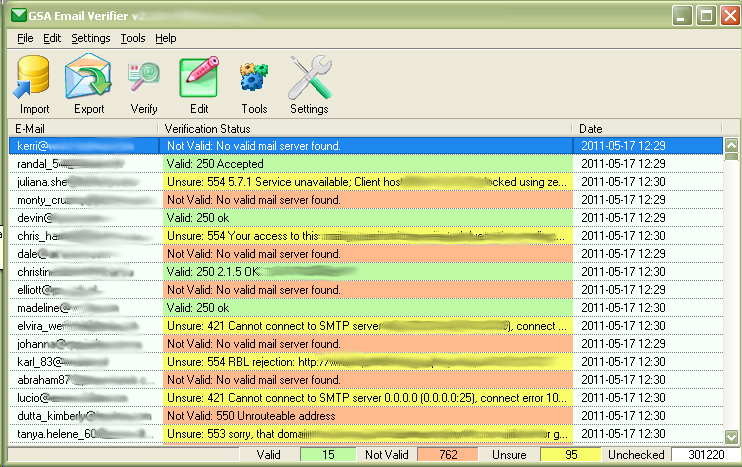
Main Screen
Import
You can import E-Mails from various sources. Only the Excel format requires you to have Excel installed. If you have any unknown format, use “Other file” and the program tries to find E-Mails in that file.
Export
The Export Dialog has various options for you to save the proceed E-Mails. There are basically two ways how to save it.
Original Row
This will try to save in a way it was imported. If you e.g. imported a CSV or Excel file with much more columns in it that the E-Mail, you can use this option to export only the rows of it with valid E-Mails. You will than have all extra data that comes with the E-Mail again in the export file.
Only E-Mail
This will create a new file saving just the E-Mail in one row and maybe the verification status and date if you checked that option.
Verify
Quick Test
This will just check the following:
- Syntax of E-Mail (e.g. illegal characters present or not)
- Does the E-Mail domain exists (part after @)
- Does the E-Mail have a valid SMTP-Server that can be used to contact it
No SMTP-Server is contacted when doing this test. It can only tell you if that E-Mail could exists but it does not tell you if the mail account is still existing on the provider.
Full Test
This will do all of the above and will try to connect to the SMTP-Server to send an E-Mail to it. However, no E-Mail will ever be delivered as sending is aborted before the final sending is happening, even with full simulate option.
Scheduled Verification
This will do a Full Test as well but let's you define the time and date when this should happen (e.g. at night when noone is in office).
Edit
This let's you remove or select E-Mails to your needs.
Tools
Settings
Click this button to open the settings dialog.


